
Use Elementor’s visual controls to implement a content-led service page, then validate the published visitor journey rather than relying only on the editor preview.
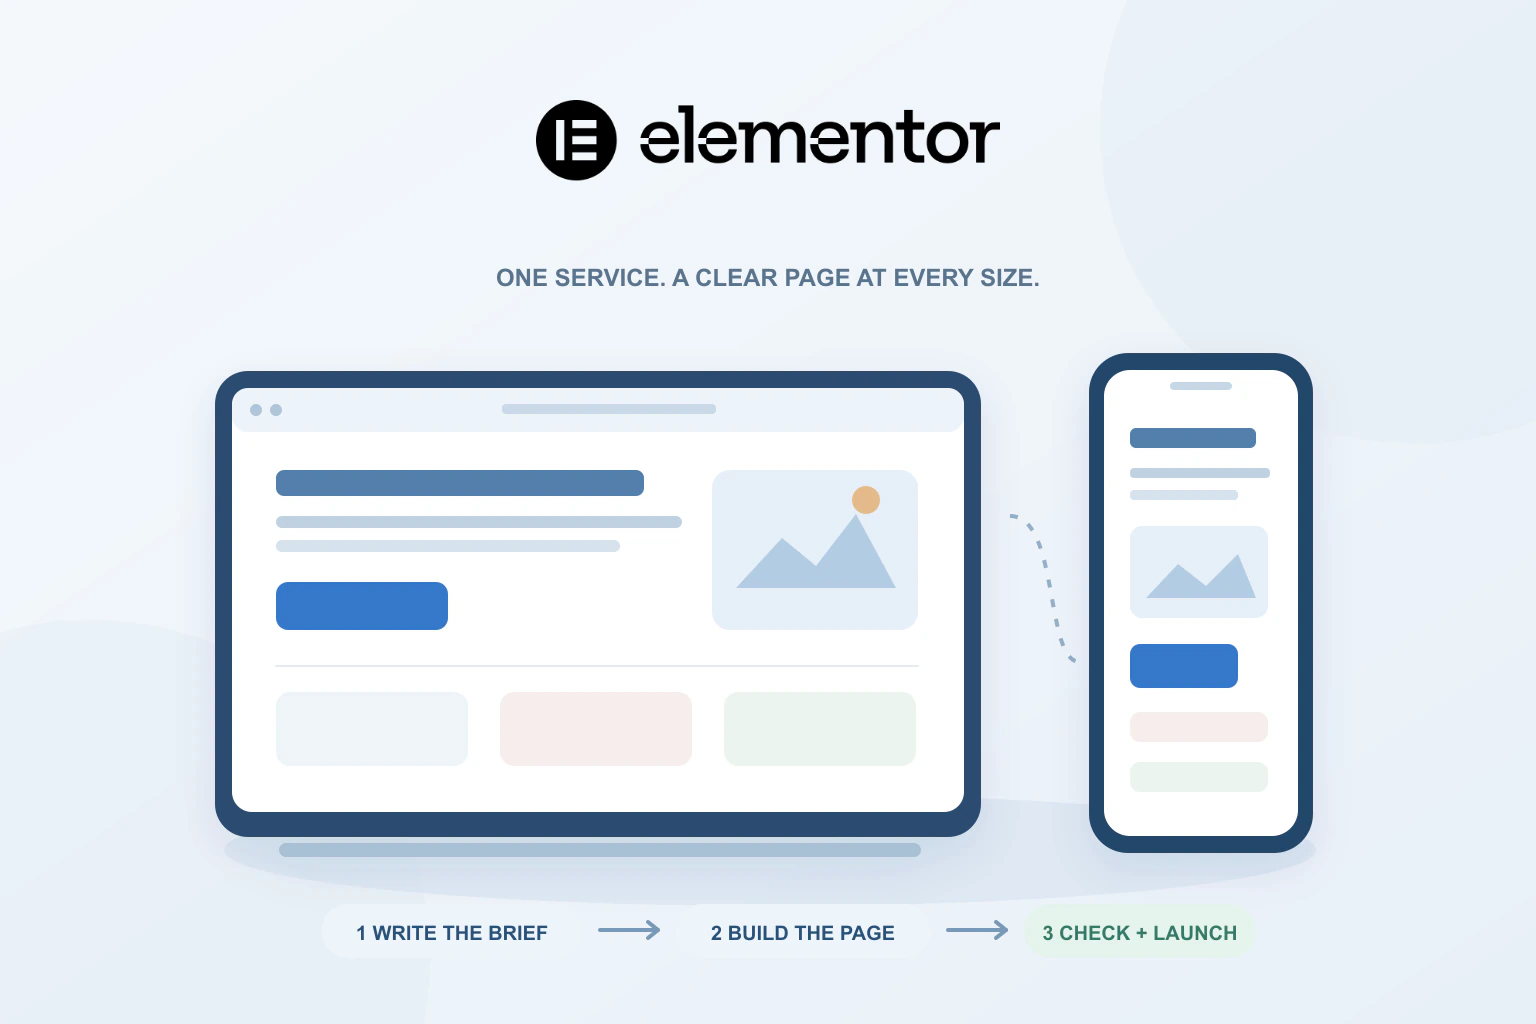
A useful service page helps a visitor decide whether a business can solve a particular problem and what to do next. Elementor gives you visual tools for arranging that page in WordPress. The quality of the result comes from the brief, the content order and the checks performed after publication, as well as the layout controls.
This workflow is designed for a small business presenting one main service. It is an editorial planning and review method, not a report of a completed Elementor Pro build. Elementor’s interface differs between editor versions; use the documentation that matches your installation. The responsive guidance linked below covers the documented container-based workflow.
AI-assisted editorial content, reviewed against the official sources below.
Write the page brief before opening the canvas
Define one visitor, one service and one useful next action. A local repair company might need visitors to understand the work it accepts, the area it covers and how to request an estimate. A consultant might need a short explanation of the engagement and a route to a first conversation. Put those answers into a plain document before choosing decorative sections.
Write a working headline that names the service rather than a vague promise. Follow it with two or three sentences explaining who the service is for and what the business actually does. Gather real supporting material: relevant project photographs, a concise process, accurate qualifications and contact information the business is prepared to maintain.
Agree how success will be judged. For a service page, a visitor reaching the right enquiry route is often more useful than scrolling through many effects. Define who receives that enquiry and the response expectation the business can meet. Avoid a promise such as an immediate reply unless the operation can consistently support it.
Arrange the content around the visitor’s questions
| Page section | Question it should answer |
|---|---|
| Opening headline and summary | Is this the service I need? |
| Scope and practical details | What is included, and does the business cover my situation? |
| Relevant evidence | Why should I trust this business with this work? |
| Process and common questions | What happens if I get in touch? |
| Contact action | How do I take the next step? |
Keep each section responsible for a clear part of that journey. A long block of general company history can interrupt a visitor who is trying to understand a specific service. Place the most relevant proof beside the claim it supports, and use a descriptive link when someone needs more detail on another page.
Use real text while building. A line of placeholder copy hides wrapping and spacing problems that appear as soon as the owner adds the actual service name. Test the longest expected heading and a realistic list. If a two-column section becomes awkward with ordinary content, simplify the composition before repeating it across the site.
Set a small, reusable visual system
Choose a readable body style, a clear heading hierarchy and a limited set of colors before styling individual widgets. Elementor’s Site Settings provide central controls for global fonts and colors. Use the relevant available controls to make repeated elements consistent, and check which advanced options belong to the selected subscription.
Decide on a normal content width and a modest spacing rhythm. A wide photograph can provide atmosphere, while the text still needs a comfortable reading measure. Keep related text and its action close enough to read as one group. Large empty areas should serve the composition, not compensate for an uncertain layout.
For container-based layouts, Elementor documents content width and responsive sizing separately. Use those controls to manage the relationship between the section and its contents. A page becomes easier to maintain when the layout expresses a small number of repeatable decisions rather than many unrelated pixel adjustments.
Make the mobile page a deliberate composition
Open the responsive preview early, while the first useful section is still being built. Elementor supports device-specific adjustments, but a preview is a design aid rather than the final test. Review the published page at narrow and wide widths, including a width between the named device presets where the layout is most likely to become cramped.
Read the narrow page from top to bottom. The headline should remain clear, the introduction should not be separated from its action and a supporting image should keep its useful subject. Prefer a simple single-column sequence when side-by-side content becomes hard to read. Do not use a fixed height that cuts off longer text.
Check the navigation with the same care as the page body. A phone visitor needs to open the menu, understand its labels, follow a link and return to the service page. If a sticky header or contact bar is used, verify that it does not cover a heading, a form field or the browser’s visible controls.
Check the basic reading and interaction experience
Elementor’s accessibility guidance emphasizes meaningful headings, appropriate image alternatives, readable contrast, keyboard navigation and clearly labeled forms. Apply those principles to the actual content. A heading should identify a section; it should not be selected only because its default size looks attractive.
Move through the page with a keyboard. You should be able to see the current focus, reach the main links and operate the enquiry controls in a sensible order. Read the link labels without their surrounding paragraphs: they should still give a useful clue about the destination. Use actual labels for form fields rather than relying on disappearing placeholder text.
Describe an informative photograph according to what it contributes to the page. A purely decorative image can have an empty alternative. Keep text readable against images and colored backgrounds, including hover and focus states. These are useful checks; they do not by themselves establish that a finished website meets every accessibility requirement.
Treat the enquiry as an end-to-end task
Build only the fields the business needs to respond. Explain what the visitor should provide and what will happen after submission. If an upload is necessary, make its purpose and permitted format clear. Keep sensitive information out of an ordinary enquiry form unless the business has a defined reason and an appropriate handling process.
Complete a submission using a fresh visitor session and a real test inbox controlled by the business. Confirm that the message arrives, its details are readable and the visitor sees an understandable response. Repeat with a missing required field. A success message is useful only when the receiving process also works.
If a marketing integration or stored submission history is part of the job, verify the plan entitlement and destination account before launch. The general Form widget documentation describes a range of capabilities; the selected tier determines which workflow is available. Keep that decision linked to the plan checklist rather than discovering it after the page has been designed.
Publish with a short acceptance record
- Confirm the page title, public address, navigation link and social preview.
- Check phone and desktop reading, image framing, buttons and keyboard focus.
- Submit the enquiry and confirm receipt at the intended destination.
- Check the page after signing out of WordPress, including any consent choices.
- Record who will update the service details and review the enquiry route.
Elementor is most useful when its visual workflow supports a clear brief and repeatable design decisions. Start with one well-reviewed service page, then reuse the working patterns for related pages. Keep the visitor’s questions, the responsive reading order and the owner’s future editing task at the center of the build.
Costs alongside this guide
Recorded subscription references. Check the selected billing term, current allowances, additional usage, tax and renewal at checkout.
Plans for this workflow
USD · US / global observations

Elementor · Essential — annual
- Initial term & commitment
- Initial term amountUS$60.0012 months termUS$5.00US$60 published annual payment, equivalent to US$5/month. Tax and renewal are separate.
- Renewal
Check local tax at checkout
Price observed 2026-10-15
Plan details & sources
One site with a defined need for the Essential editor features.
1 WordPress site; editor, Theme Builder and form design within Essential feature limits.
Choose another option if: Hosting, popups, custom CSS/code and ecommerce are outside this plan.
USD public pricing; checkout country and tax not selected. · Check local tax at checkout
Renewal: A separate future renewal amount was not established. Confirm the renewal invoice and current terms.
Check local tax at checkout
Prices checked 2026-10-15Official price source ↗Observed 2026-10-15
Official price evidence ↗Elementor · Advanced Solo — annual
- Initial term & commitment
- Initial term amountUS$84.0012 months termUS$7.00USD84 published annual payment, equivalent to 7/month. Tax and renewal are separate.
- Renewal
Check local tax at checkout
Price observed 2026-10-15
Plan details & sources
One site needing specific Advanced Solo capabilities.
1 WordPress site; Advanced Solo adds popups, custom CSS/code, ecommerce and advanced integrations as listed.
Choose another option if: Hosting and third-party add-ons are separate.
USD public pricing; checkout country and tax not selected. · Check local tax at checkout
Renewal: A separate future renewal amount was not established. Confirm the renewal invoice and current terms.
Check local tax at checkout
Prices checked 2026-10-15Official price source ↗Observed 2026-10-15
Official price evidence ↗Recorded prices can change. Check eligibility, taxes and the current full bill with the provider. Different currencies and services are shown separately.
 Affiliate link.
Sources and verification
Editorial review 2026-10-15. Source check dates are recorded separately. Notes describe what each source supports and its limits.
View sources
- Responsive editing for mobile and tabletsChecked Responsive preview and device-specific layout controls for the documented editor workflow.
Limits: Official documentation reviewed on 15 October 2026. Product terms can change; this is not a hands-on test of Elementor Pro. - Define container layoutChecked Content-width controls and responsive container sizing.
Limits: Official documentation reviewed on 15 October 2026. Product terms can change; this is not a hands-on test of Elementor Pro. - Configure Site SettingsChecked Central site settings for global fonts, colors and theme styling; availability depends on the selected plan.
Limits: Official documentation reviewed on 15 October 2026. Product terms can change; this is not a hands-on test of Elementor Pro. - Best practices for website accessibilityChecked Semantic headings, alternatives for images, keyboard access, descriptive links and labeled forms.
Limits: A checklist or widget does not establish that a finished site conforms to an accessibility standard. - Elementor Form widgetChecked Form creation and configuration; exact submission and integration entitlements depend on plan.
Limits: Official documentation reviewed on 15 October 2026. Product terms can change; this is not a hands-on test of Elementor Pro.